How it works
From a drawing to an app on your phone.
You design the app in your browser. Your coding agent builds it as one Expo project for iOS and Android, and the code is yours.
- Step 01
Design your screens. In the browser, with no install.
Start from one of ten starter apps, or pick your tabs in a short wizard and get an app shell to fill in. Then drag blocks onto screens: lists, cards, forms, charts, buttons and more.
- Blocks named in plain words, the most used first, with a search that forgives a typo
- Select several blocks and move them as one
- Edit every word, photo and colour in place, and preview each screen as iOS or Android
- A short tour shows you around the first time you open it
- Step 02
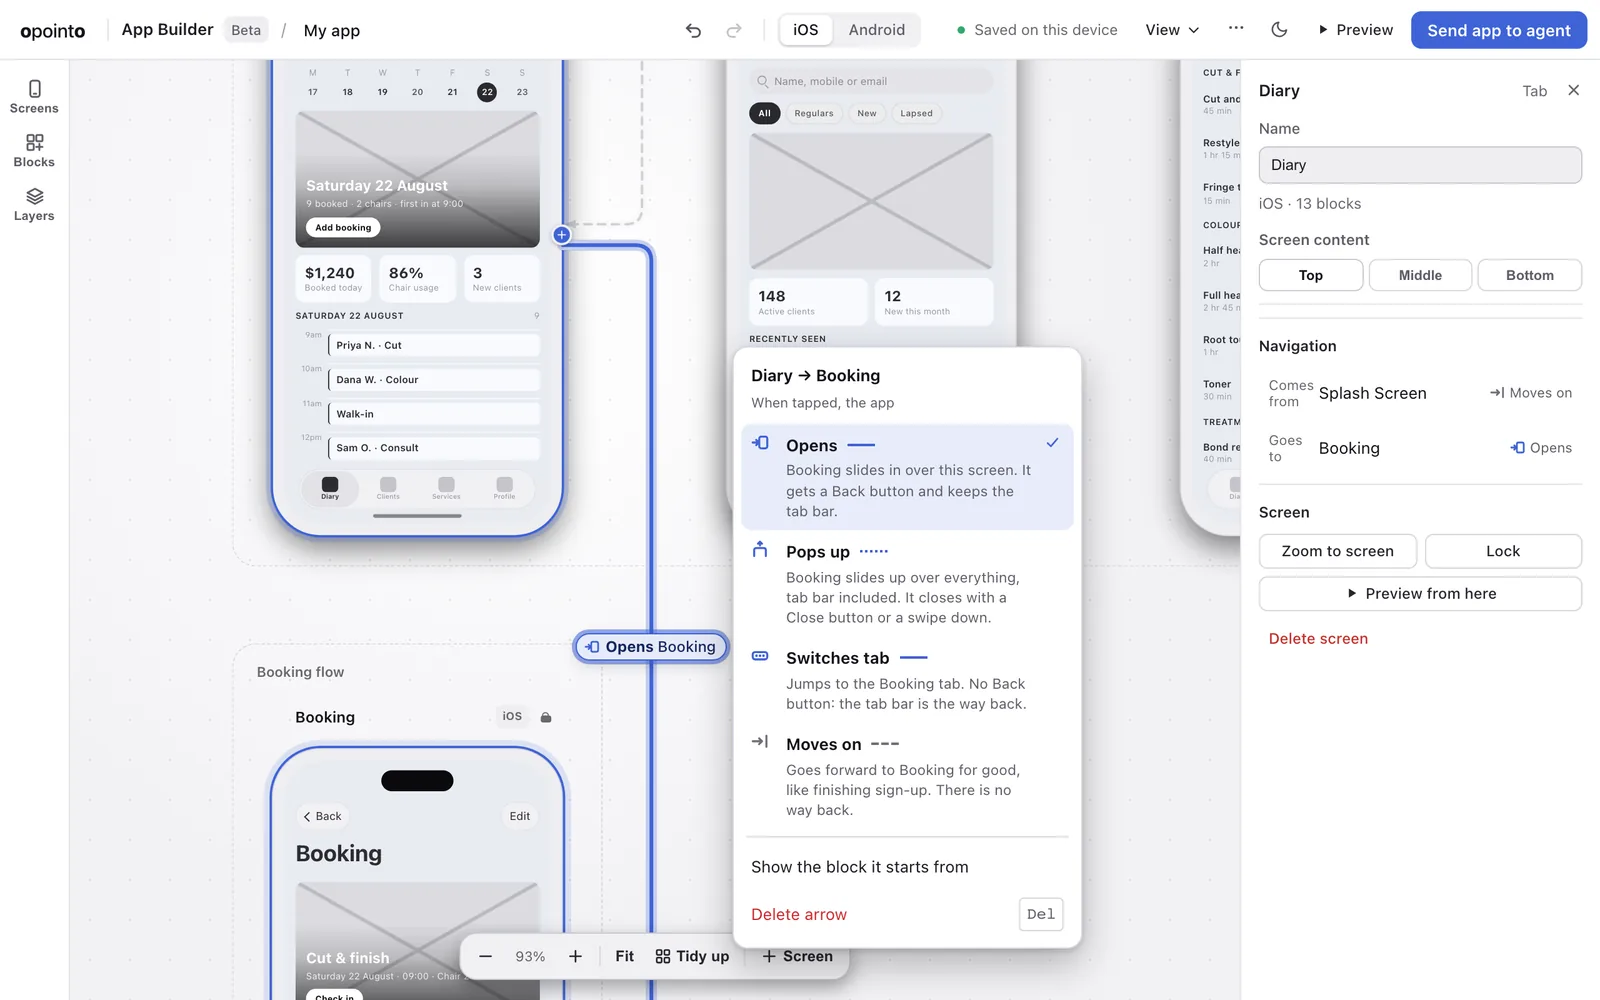
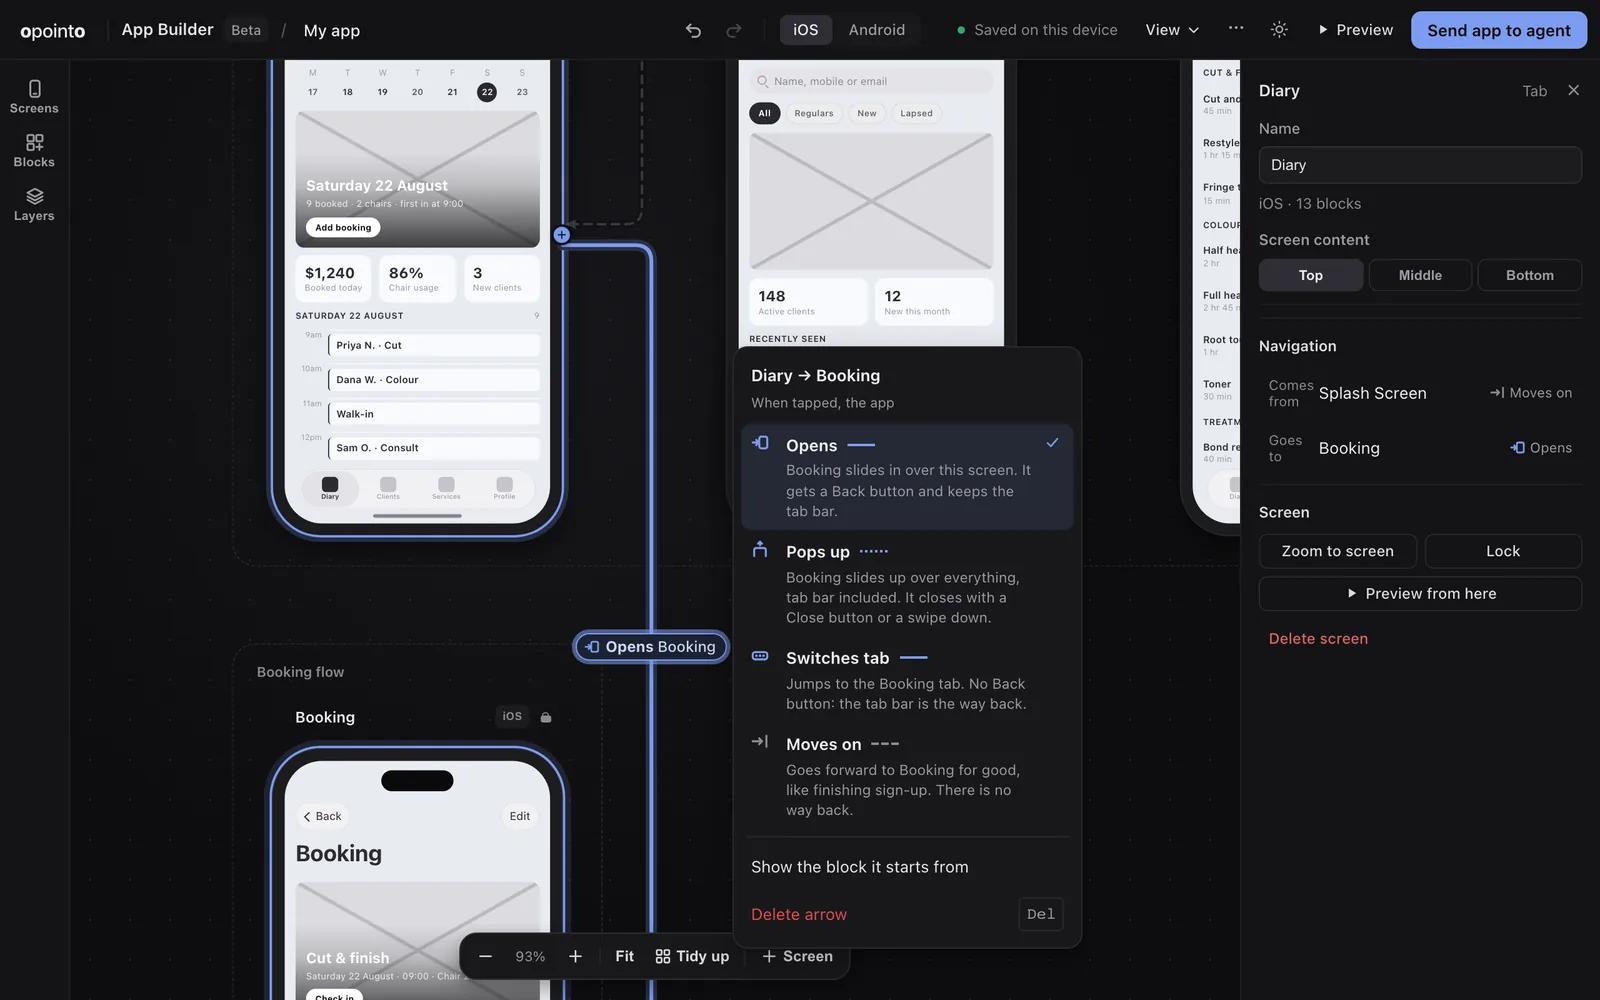
Draw the navigation. Arrows become real tabs, screens and pop-ups.
Draw an arrow from a button, a row or a tab to the screen it opens. Each arrow says what it will do, and the app your agent builds does exactly that.
- Opens, Pops up, Switches tab or Moves on, each with its own line on the canvas
- An arrow the app cannot build is flagged on the canvas, not at the end
- Drop an arrow on empty canvas and the next screen is made for you
- Tap through the whole app in Preview before you build it
- Step 03
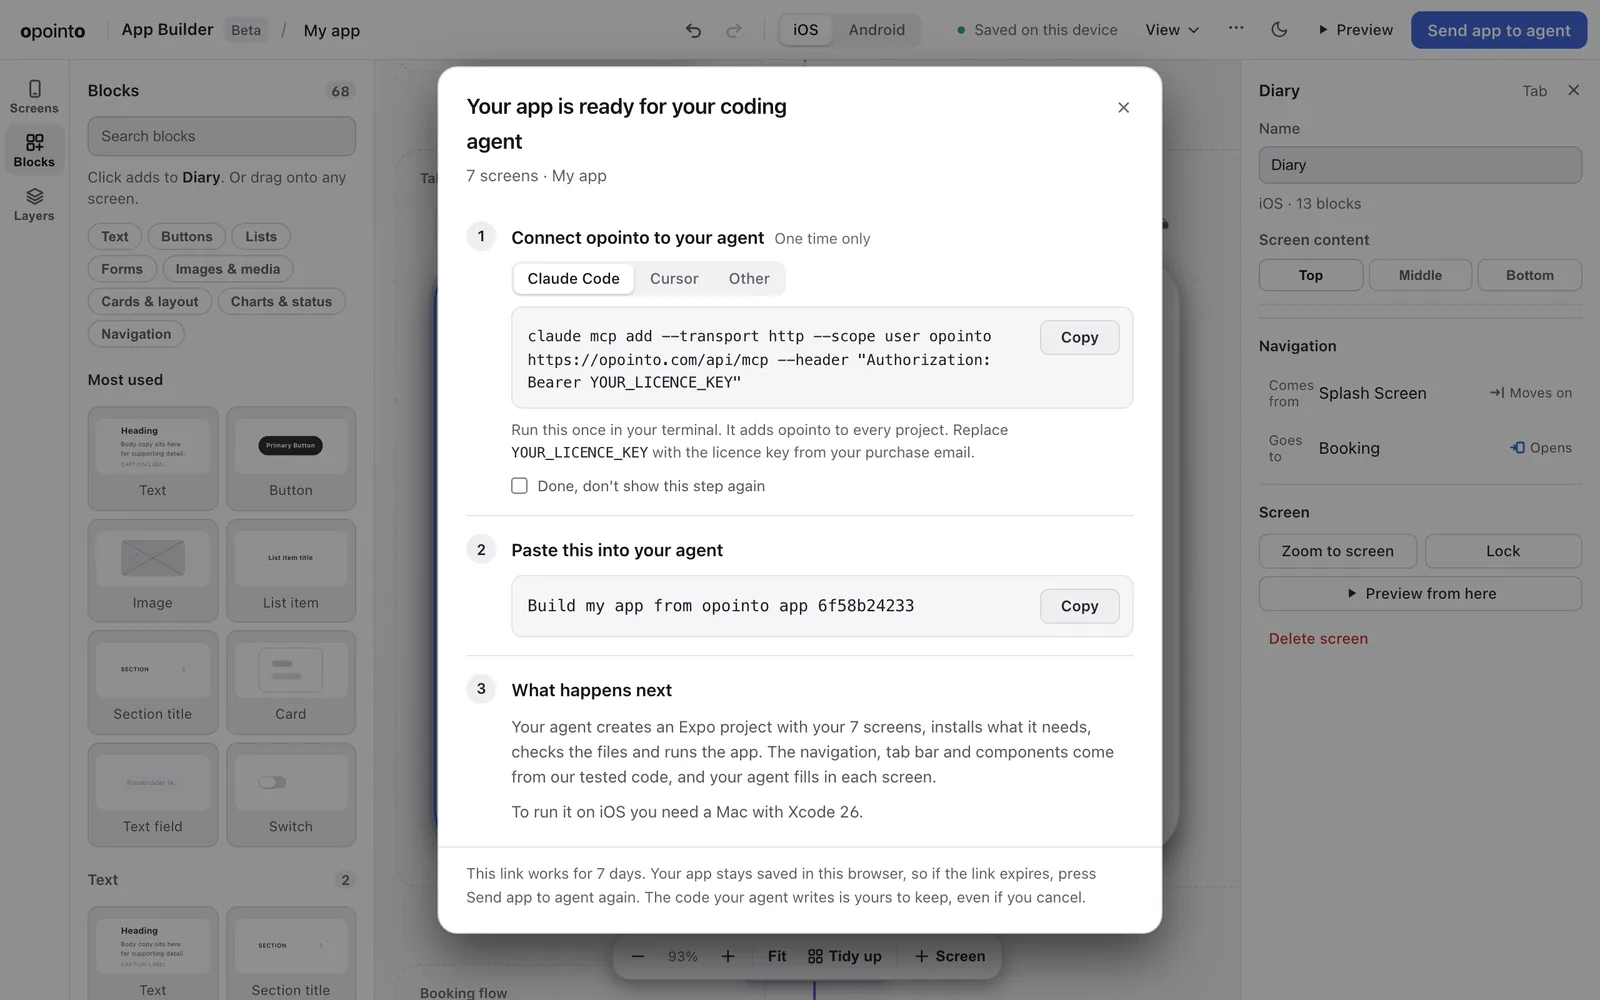
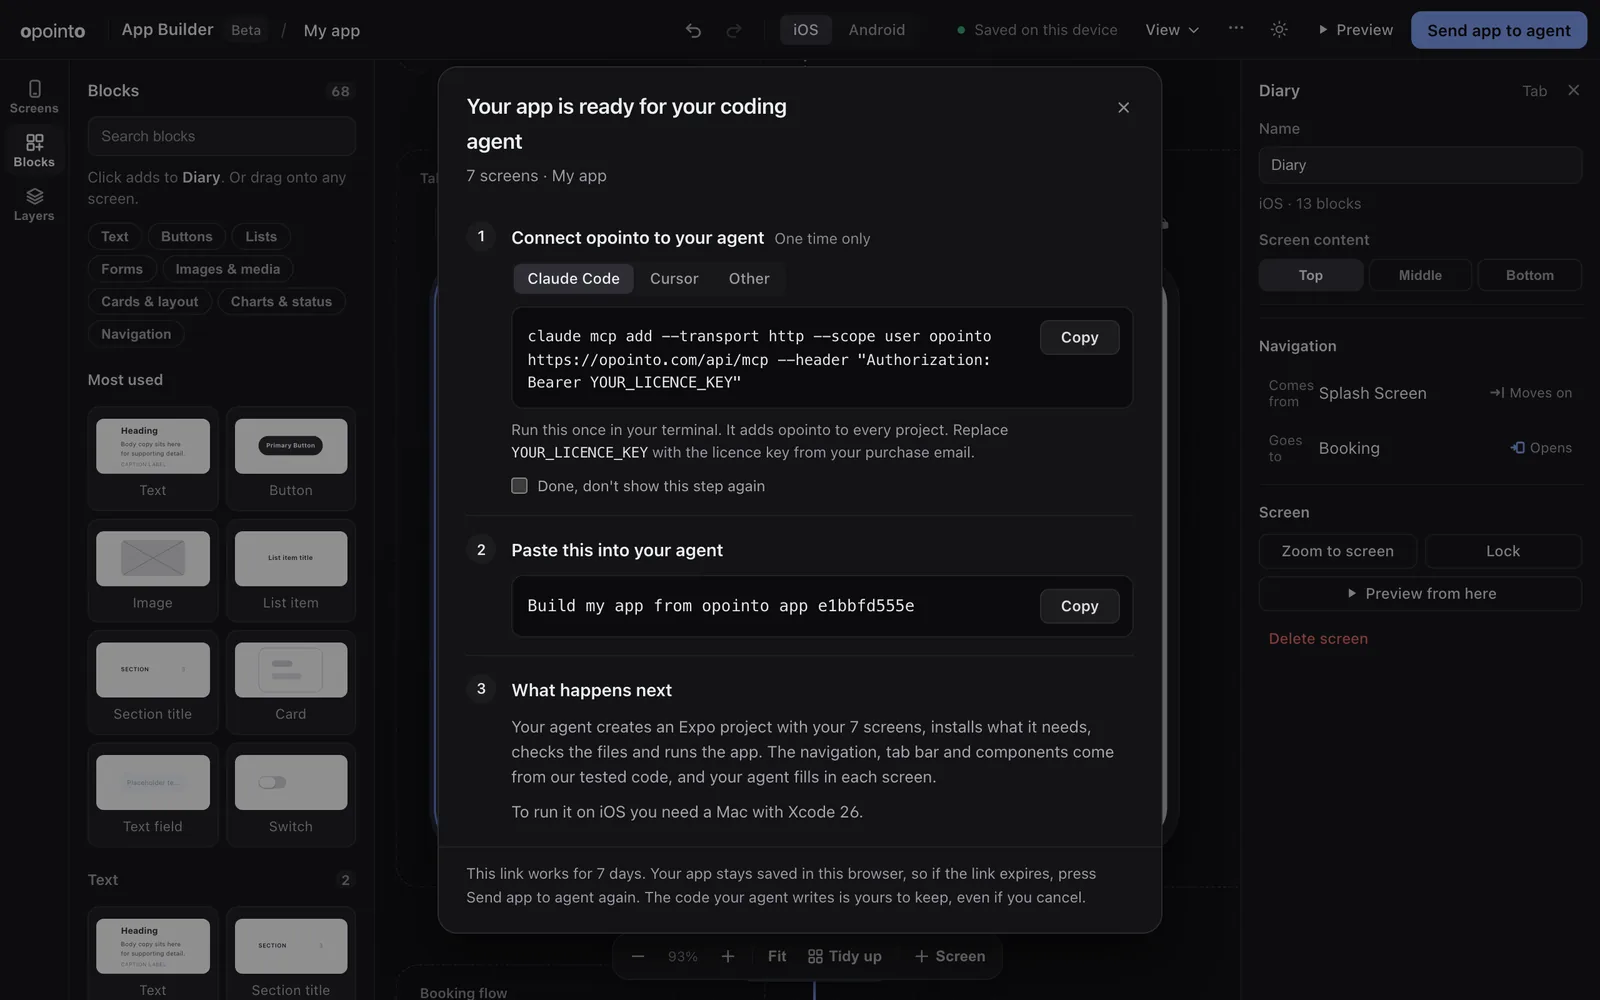
Send it to your coding agent. One line to paste.
Press Send app to agent. The App Builder checks every screen in the order you reach it and flags anything unfinished. When it is ready, you get one line to paste into Claude Code, Cursor, Codex, VS Code or Gemini CLI.
- Your agent refuses to build a flagged screen unless you say so
- It writes a normal Expo project into your repo
- Tested with Claude Sonnet: no top-tier model needed
- Step 04
Run it on your phone. iOS and Android, from one codebase.
Build it once as a development build and it runs on the iOS simulator, the Android emulator or your own phone. Liquid Glass on iOS 26, Material 3 Expressive on Android: native on both.
- npx expo run:ios, or npx expo run:android
- Change anything afterwards: it is your code
- Keep building with your agent: new screens, new components
In the App Builder
Every gesture does one clear thing. Recorded in the real App Builder.
Nothing to learn before you start: the moves work the way design tools you already know work, and every one of them can be undone.
Select several, move them as one
Shift-click blocks into a group, then drag the group to another row or another screen. One undo puts it back.
Tidy up
One press lays your screens out in the order people move through them, however the canvas looks after an afternoon of work.
Draw to make the next screen
Drop an arrow on empty canvas and a new screen appears there, connected and ready to name.
Resize by the handle
Pull a block’s edge and it settles at a third, a half or two thirds of the row. Blocks side by side stay side by side in the app.
In the export
The small things, done properly. On both phones.
Captured on an iPhone and an Android phone, from an app our exporter wrote.
iOS 26 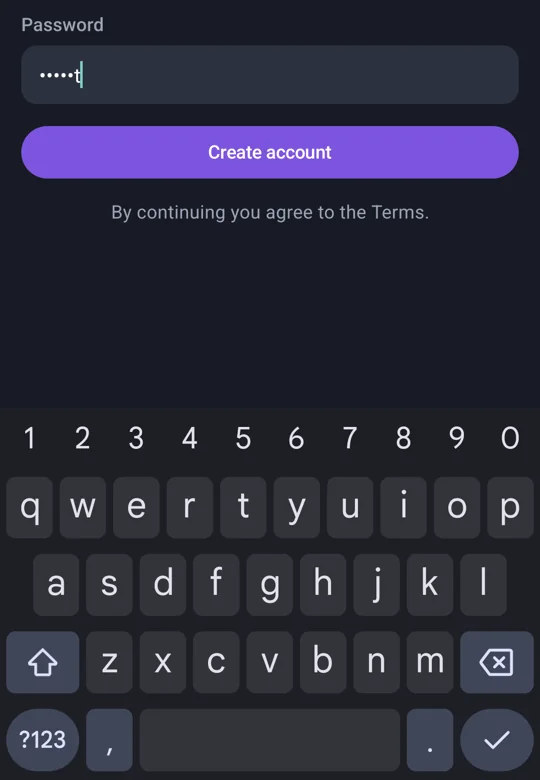
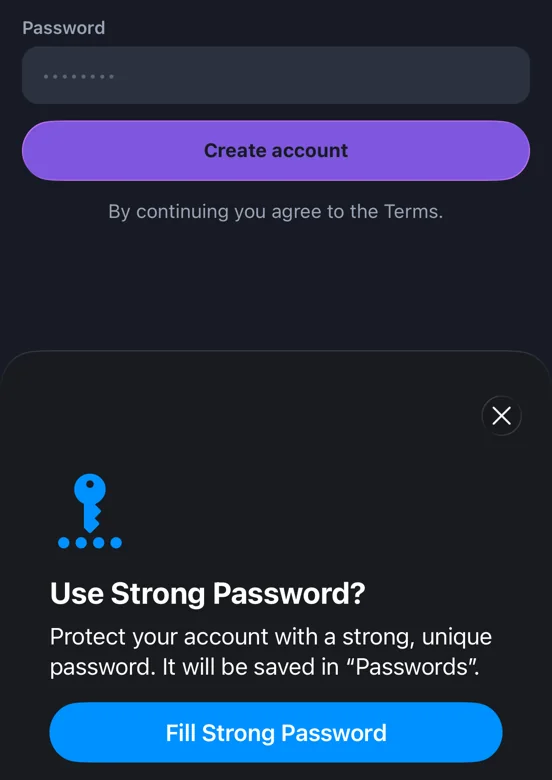
Android Sign-up forms that behave
Password fields hide what you type and iOS offers a strong password. Email fields bring up the email keyboard, and the form moves out of the keyboard’s way.
iOS 26 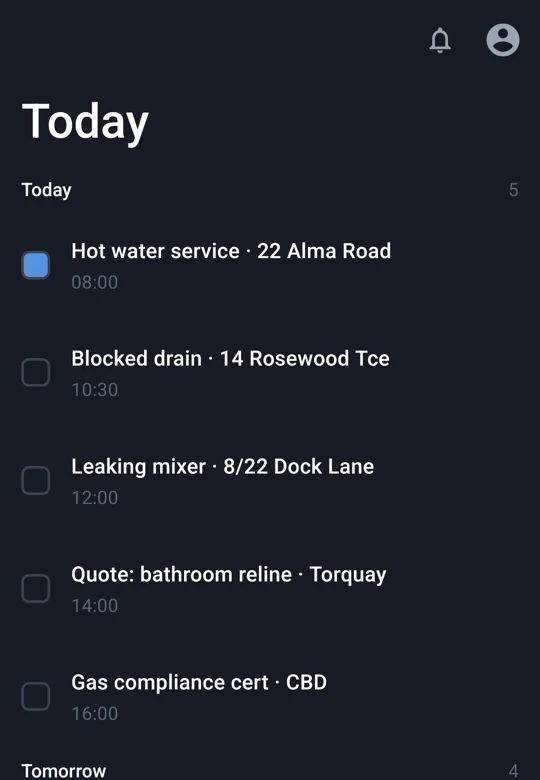
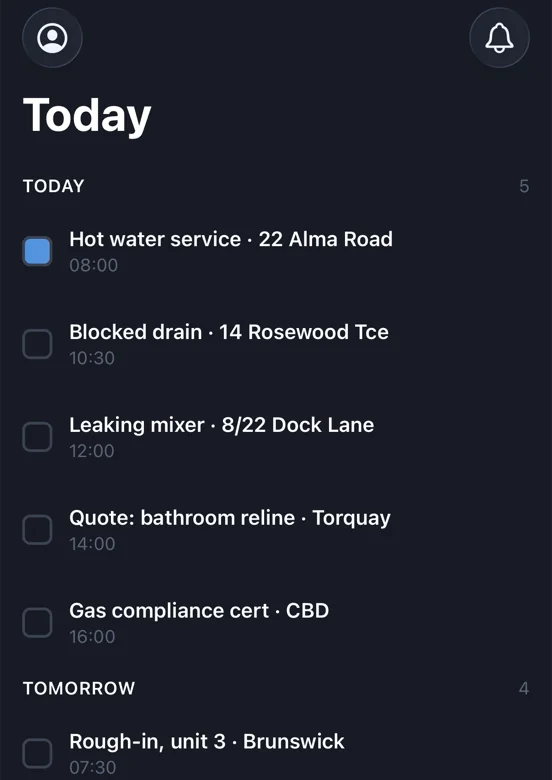
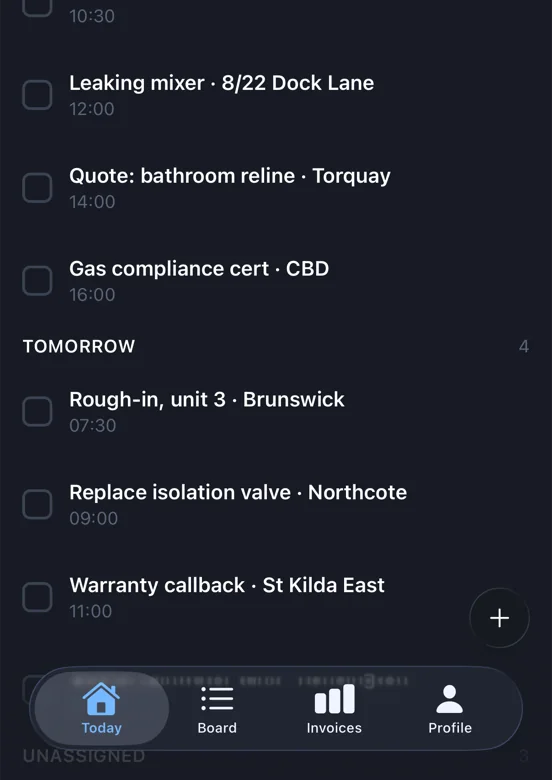
Android Header buttons in the header
A button you put in a screen’s header becomes a native bar button on iOS and a top app bar action on Android.
iOS 26 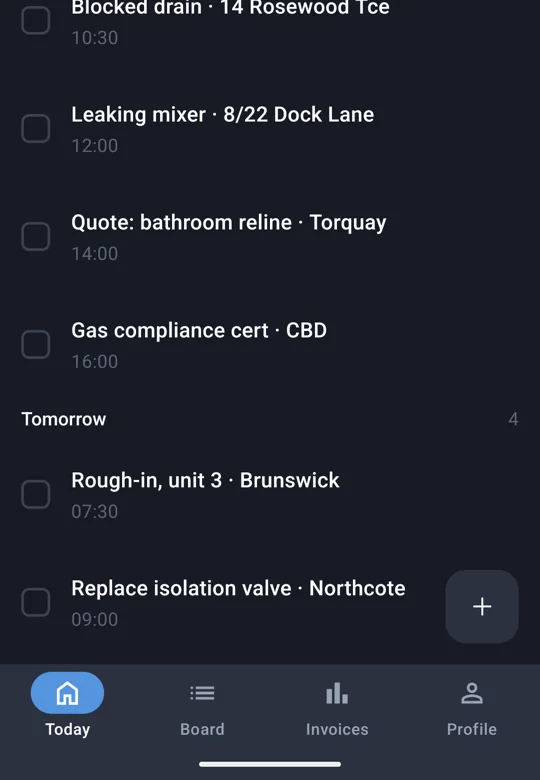
Android A floating button that floats
The add button floats in the corner above the tab bar, instead of scrolling away with the list under it.
Every component, recorded on both phones. Side by side, at one scale.
Browse the componentsiOS 26 Android Tab bar. Apple’s own tab bar on iOS; the Material 3 Expressive navigation bar on Android.
iOS 26 Android Segmented control. The real iOS segmented control; a Material 3 Expressive connected button group on Android.
iOS 26 Android Switch. The real iOS switch; the real Material 3 switch on Android.
What your agent does
The design is the spec. Your agent follows it step by step.
Your agent reaches opointo through an MCP server, the standard way coding agents use tools. It asks for your app by its share code and gets back the exact files, the install line and the steps, written so a mid-tier model can follow them.
emit_app- Turns your design into a working Expo app: navigation, providers, the tab bar, your screens and the components they use.
add_screen- Adds a screen you designed later to the app you already have, inside the right tab.
install_component- Installs one component into your project, with the dependencies it needs.
update_components- Updates the components and app shell we supplied as iOS and Android move. Your own code is left alone.
verify_app- Checks what your agent wrote against what it was given, and reports anything missing or changed.
What you need
Four things, stated up front.
A Mac with Xcode 26
You need a Mac with Xcode 26 to build the iOS app. Android needs only the Android SDK. Apple gives system controls Liquid Glass when an app is built against the iOS 26 SDK, so the toolchain matters and not just the phone.
The Android SDK
For Android, on a Mac, Windows or Linux. Android Studio installs it.
A coding agent
Claude Code, Cursor, Codex, VS Code or Gemini CLI, connected once. The lookup tools are free.
A subscription, to generate code
Designing is free. Generating the app is part of the subscription.
Xcode 27 support is in progress: a project on Expo SDK 56 built with Xcode 27 crashes at launch on iOS 27, so stay on Xcode 26 until our exports move to Expo SDK 57 (expo 57.0.23 or later and expo-build-properties 57.0.20 or later) with ios.enableSceneSupport. See compatibility.
What you keep
The code is yours, forever.
Every app your agent generates keeps working if you cancel. There is no runtime from us and nothing that phones home. Cancelling stops new builds and updates, never the apps you already have. $25 a seat a month, or $20 billed yearly.